|
10/31/2017 0 Comments Skeleton Dance Warm Up Sketch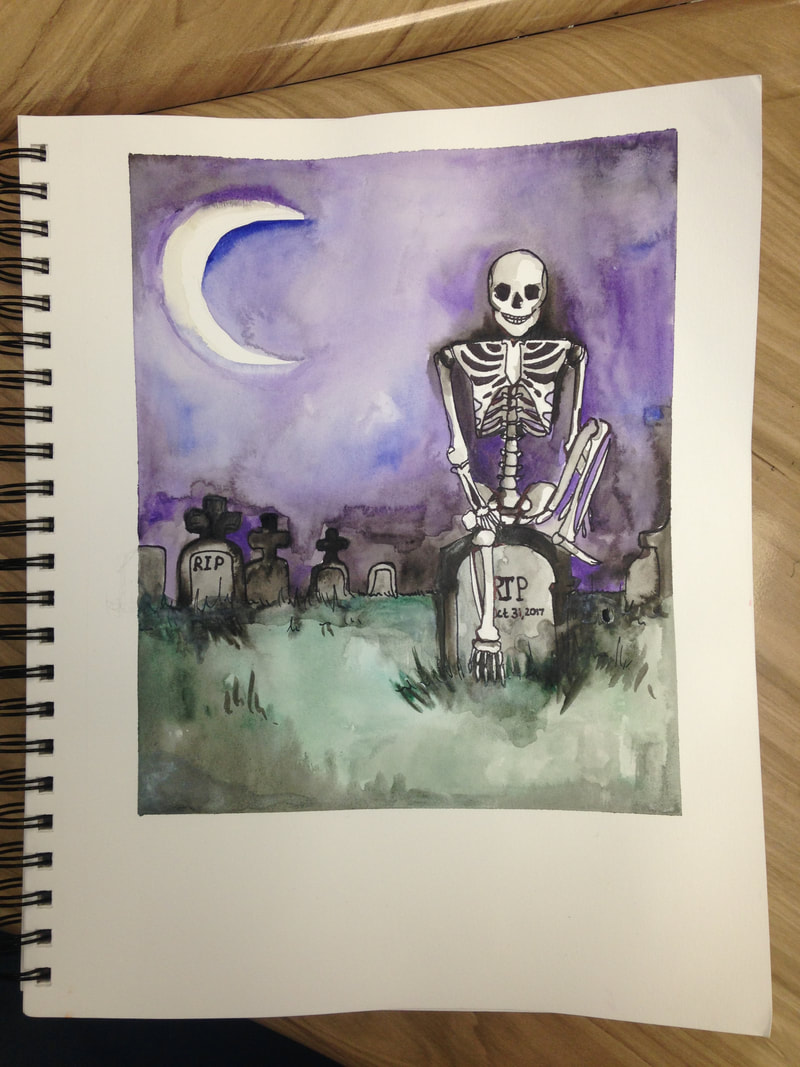 Today in class, since it is Halloween, we watched Disney's cartoon titled "Skeleton Dance." I loved this video, as it put an almost comical theme to Halloween and made everyone laugh. Using my inspiration from that video, I think created a composition based on it. I wanted to create a piece that both reflected the video ad gave the viewer the creepy feeling of Halloween. Knowing that I was planning on using watercolor, I taped around the corners of my piece and then sketched out the image of the skeleton sitting casually on top of his grave, one leg propped up nonchalantly. There is a smile on his face, but the scene around him is dark. There is long, dark grass around the graves, and the sky is dark purple with the moon illuminating the area below. Although I am mostly pleased with how this piece turned out, I wish that my use of the watercolor had been more skillful. There are areas of the sky that did not blend well, and the color in the grass faded drastically as the paint dried. I had been using an Aqua-Brush pen with the watercolor, and there never seemed to be enough moisture so I had to keep squeezing water out of it. Although the Aqua-Brushes are usually my favorite to use, it may have been best for me to use a normal paintbrush and water this time. Overall, I thoroughly enjoyed doing this piece, which was completed in about an hour, and it inspired me to perhaps create more pieces that have a spooky theme.
0 Comments
10/31/2017 0 Comments Finished Weaving Exercise
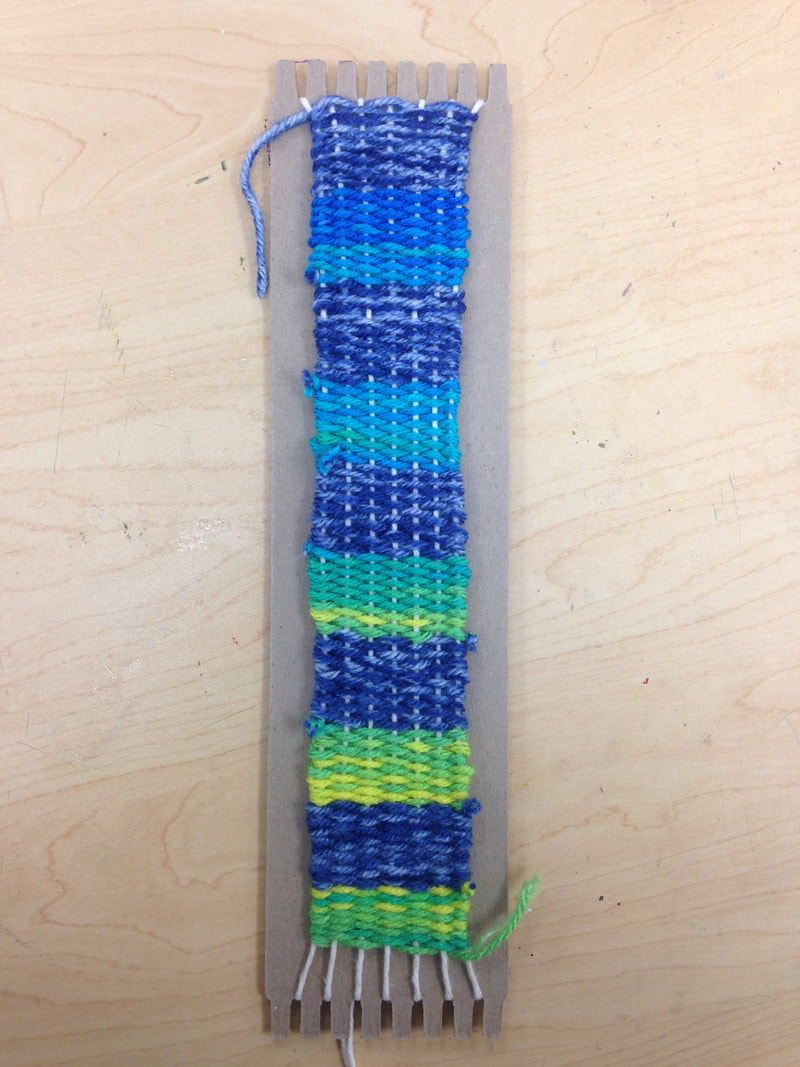
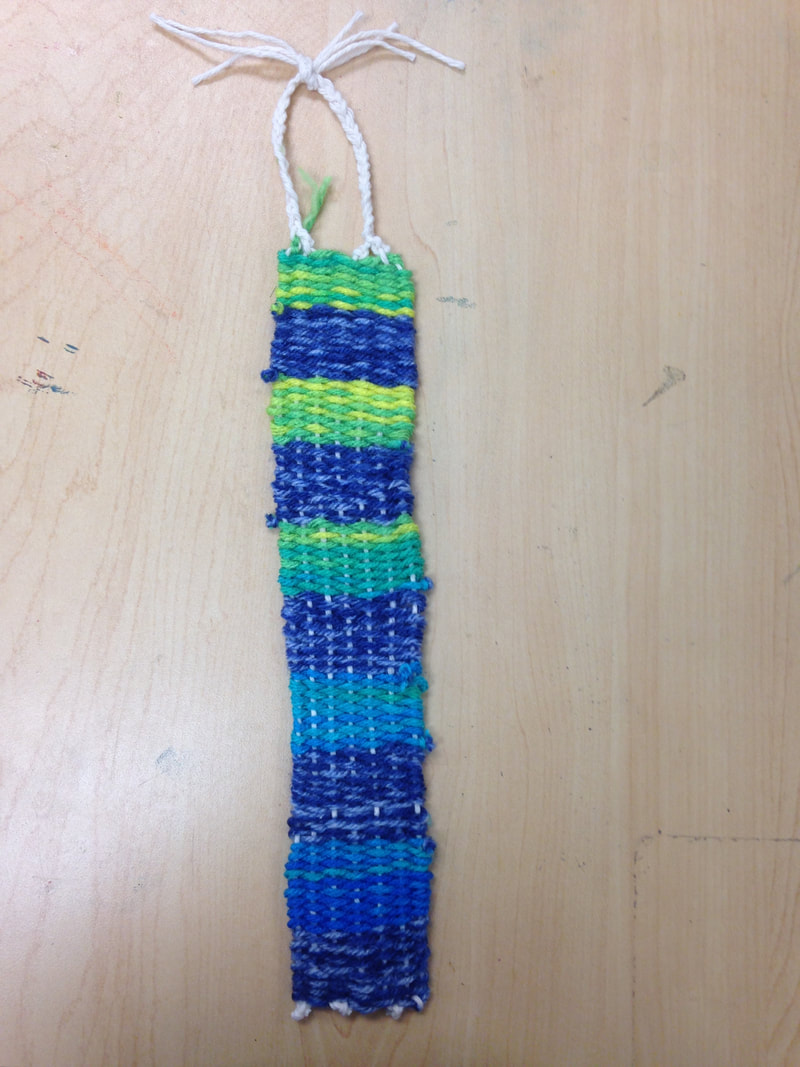
Yesterday in class, we learned about weaving. We began and completed a weaving exercise using various yarns. For my project, I chose to alternate between a darker blue yarn and a yarn that blends between blue, green, and yellow. I am very pleased with how it turned out, the color of the teal yarn slowly changing to green and yellow. At first it was slightly difficult for me to pick up on the weaving, but once it was explained I found that it was very simple and relaxing. The action of it is very calming, and I loved learning how to create art using weaving.
10/25/2017 0 Comments Finished Embroidery Exercise
 This week in class we learned about embroidery. This was my first real experience with embroidery, although I have done cross stitching and other sewing before. For my embroidery exercise, I decided to do something simple and cute. I chose to do a tiny hot air balloon floating through the sky, clouds and sunshine peeking around it an little pennant flags fluttering behind. I love hot air balloons, so this was very enjoyable for me. I decide to use more pastel colors, dividing the folds of the balloon into 7 sections and creating a design in each section. Then, I used those colors throughout the rest of the project. I also added a little green strip as the ground below the balloon, and blue and pink thread bordering the piece. The whole thing reminds me of something that would be a decoration in a baby's room, but overall I am very pleased with how it turned out. There were moments when I wished I had chosen to do something more intricate or detailed, but in the end I think I enjoyed the simplicity of my subject choice.
10/25/2017 0 Comments Finished Collograph Print Above is pictured my finished Collograph. I chose to do a leaf because of the intricacy of it and the detailed print I knew it would make. I used four layers of the thin cardboard paper to create all of the details of the veins and the stem. Then I created a small border alone the bottom right corner to frame the image of the leaf and give it some sort of context. My next step was to use the Collograph to make a print. 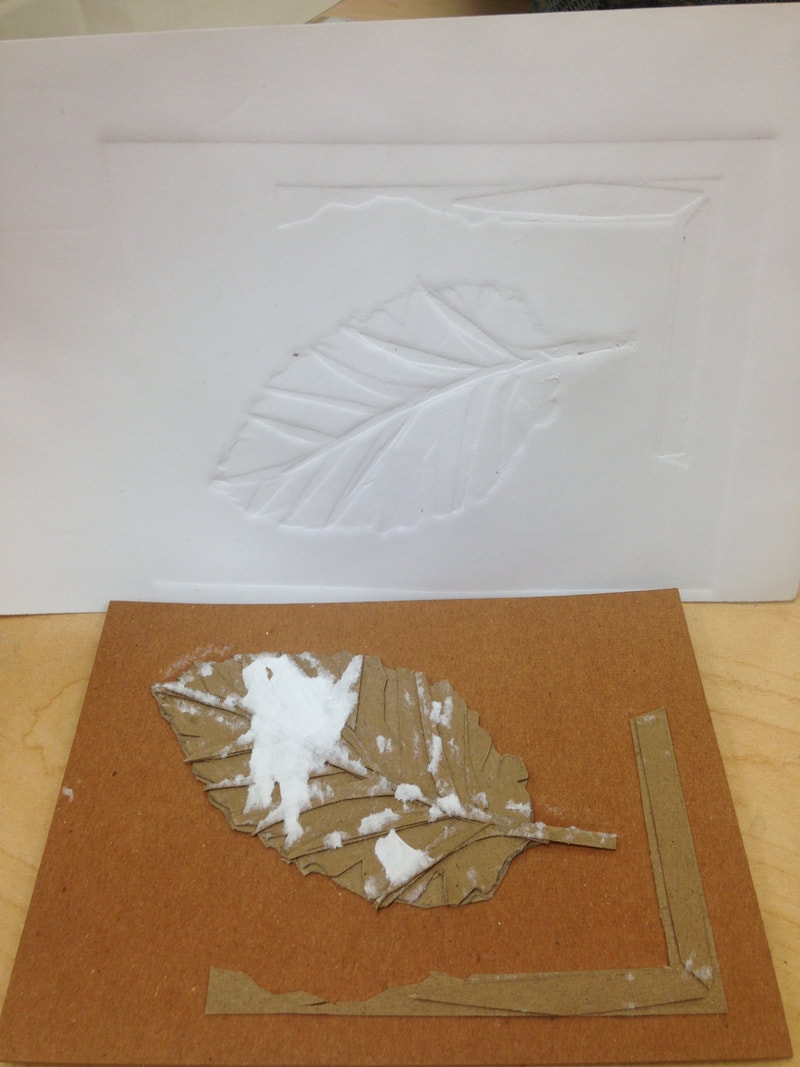 Since there was some dry glue on the top of my Collograph, when I tried to make the first few prints, lots of the paper ripped off and remained stuck onto the Collograph. So, I had to make several prints before there was no longer any glue expose to rip the paper of my prints. On my fourth print, the paper remained completely intact and created a very nice print onto the damp paper. I am very pleased with how it turned out. I would enjoy making several more of these prints and using watercolor or some other medium to highlight the details of the indention.  10/25/2017 0 Comments Finished Illustration Exercise  This week I completed my illustration exercise, based on the story of Snow White an Red Rose. After completing the inking process of the piece, I used watercolor to add color and depth to the photo. This part was my favorite, because finally I was able to see it come alive on the page. I did the green grass first. fading areas of it into blue and brown around the trees further away, and then went back into with the purple, indigo, and red for the flowers. The other areas of the piece were very enjoyable to add watercolor to, and I think it made the illustration much more appealing. Illustration is something I have not done a lot of, but I thoroughly enjoyed it and how it allowed me to put the words of the story into a visual image. I hope to explore this concept more thoroughly in order to see if it may be something I am interested in pursuing.
10/20/2017 0 Comments Illustration Exercise Progress After researching illustrator Arthur Rackham in Art History, we read the story of Snow White and her sister Red Rose, and their adventure with the greedy dwarf and the talking bear. We were told to choose one of the scenes from the story to illustrate. So, I chose one scene in the book when the girls are described as gentle and loved by nature, even being able to feed the wild rabbits in the forest. This image stood out to me a lot because of its tenderness and peace. Using a reference photo and my mind, I sketched out an outline first and then began inking the rest of it. Although it does not look exactly as I had imagined it, I think it is turning out pretty well so far. I have the painters tape around the outside so that when I finish inking all of the details and begin to incorporate watercolor, it will not bleed everywhere, but remain in sharp lines of color.
10/20/2017 0 Comments Collograph Print Progress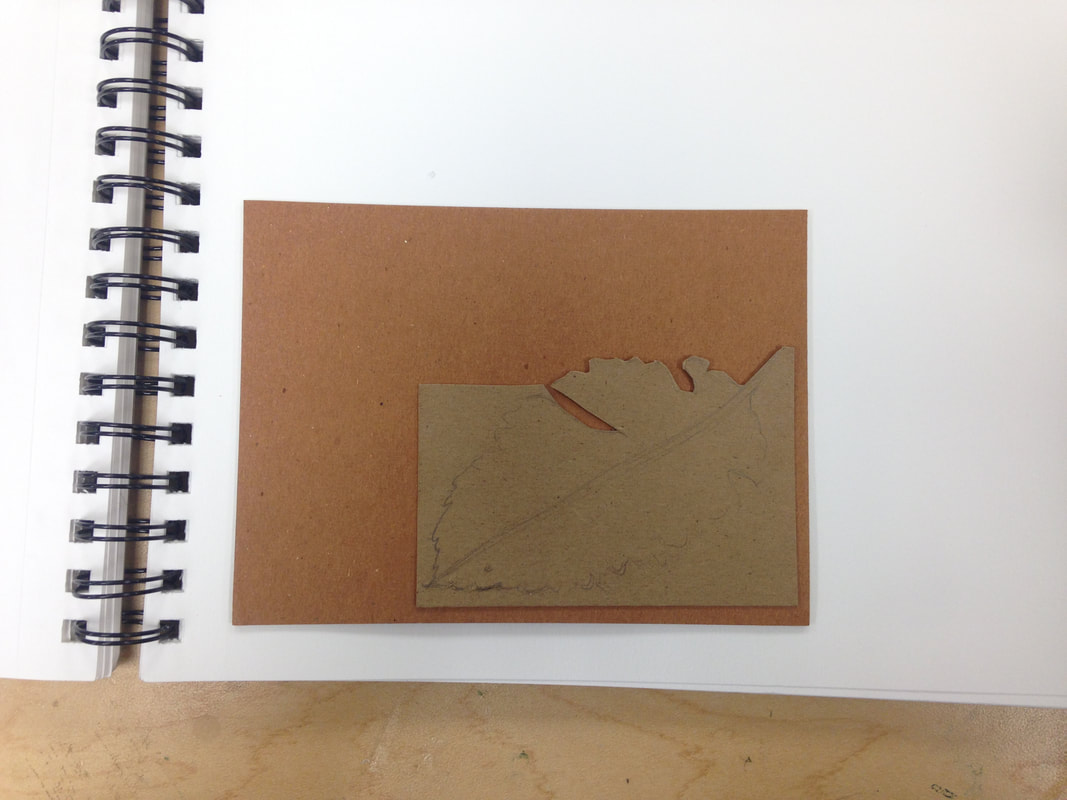 The next exercise we are working on in class is a Collograph Print. This print is designed to create a layering effect that adds depth and dimension to the print it makes into the paper. My Collograph is going to be of a leaf, and I plan to use layers to create all of the details in the leaf. From the stem, to the rips, to the veins in the leaf I hope to create a layered effect with this exercise. I think that it may be a little challenging, since I feel that I may not fully grasp the concept of this exercise, but I am excited to try it. My progress is shown in the photo above, showing that I have only just begun to cut out the leaf.
10/20/2017 0 Comments Dry Point Print Exercise
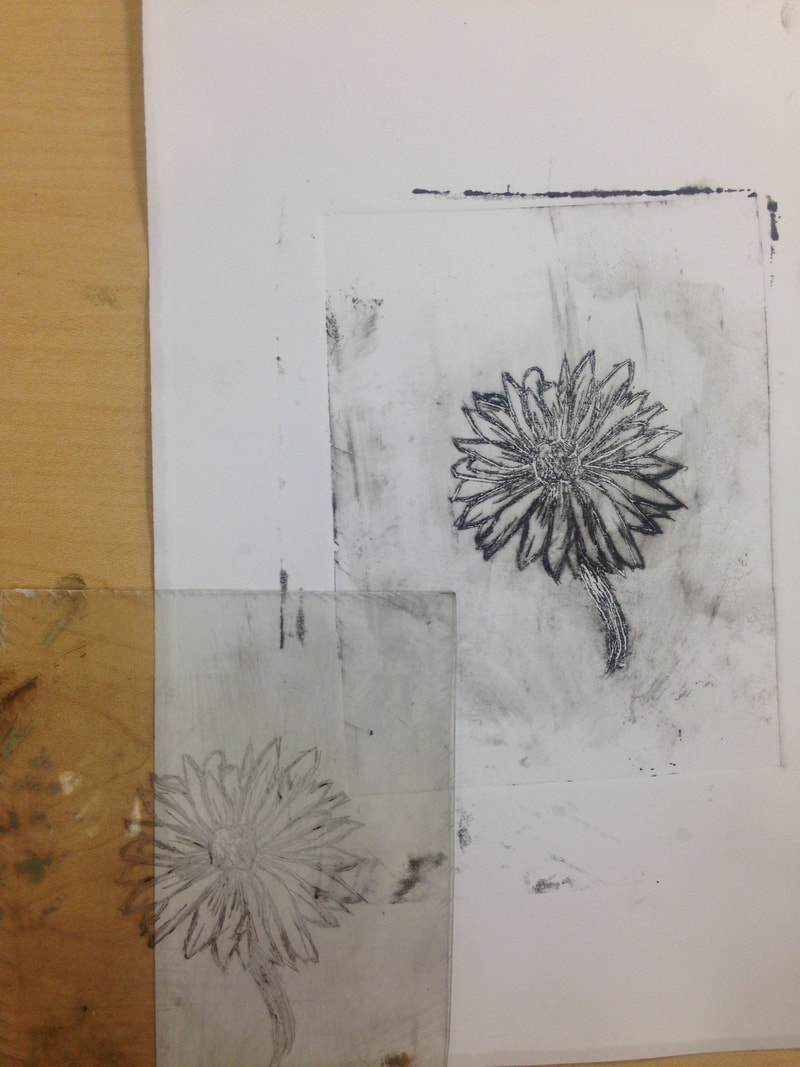
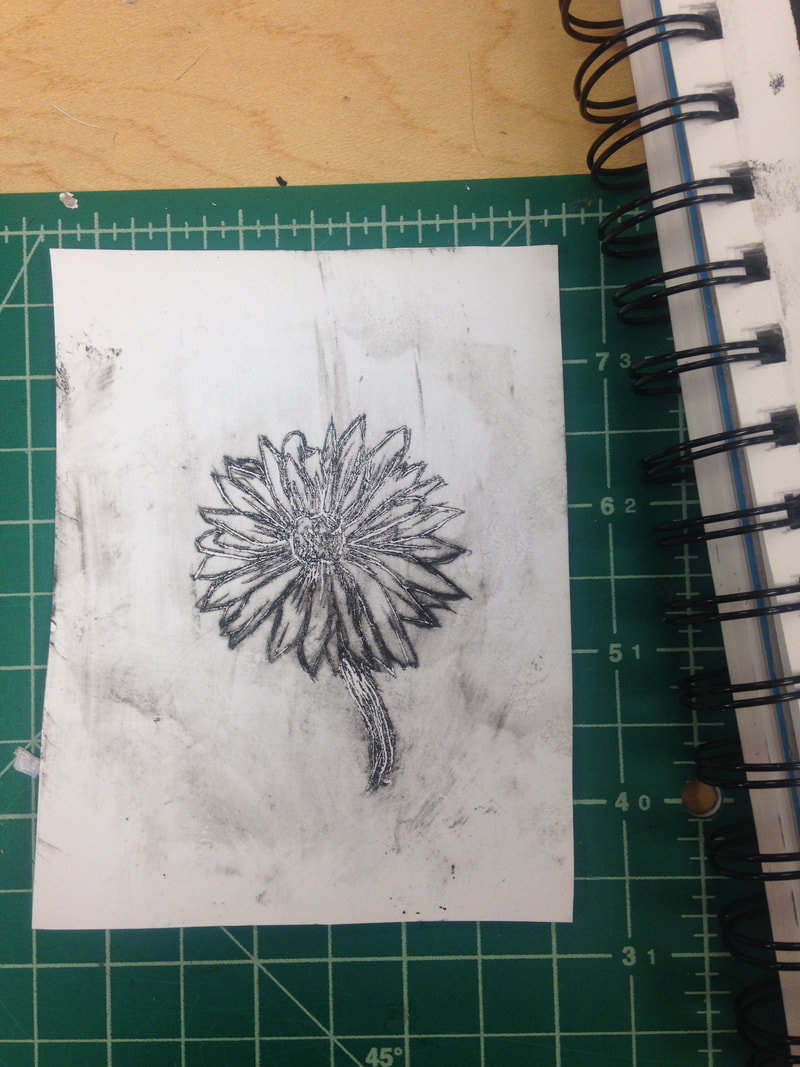
Another printmaking exercise we explored was a Dry Point Print using Plexiglas. For this exercise, I drew an image of a flower on a blank piece of paper before taping a cut out piece of Plexiglas down onto the page. Then I used a carving tool to carve the design into the glass. Next, I used cardboard to get ink into the grooves of the carving before running the glass through a press and imprinting the design onto damp paper. I enjoyed this exercise as well, although I do not think that the print turned out as well as the foam print had. There was a lot of smudged ink around the carving of the flower and in some of the grooves, the ink had not gone completely down. I hope to use this carving to make more prints, next time wiping the glass more carefully before putting it through the press.
10/20/2017 0 Comments Foam Print Exercise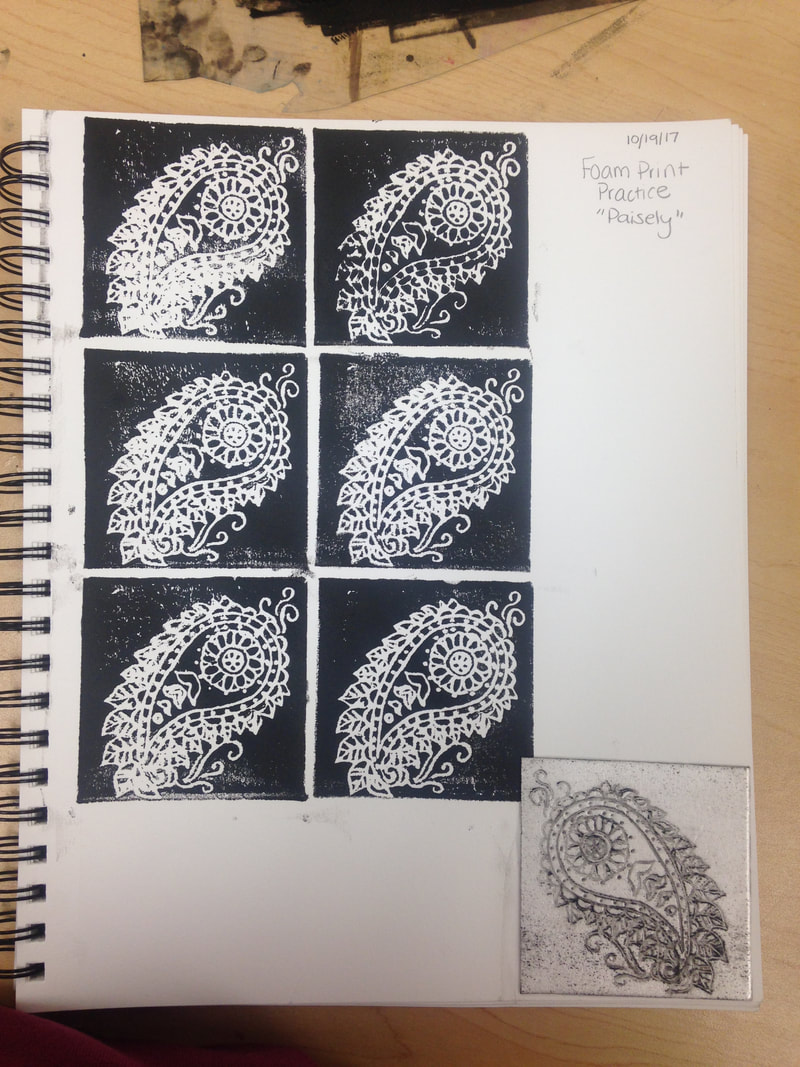 This week we did several exercises exploring different kinds of printmaking, including foam prints. For this exercise, I simply drew a paisley design into
10/18/2017 0 Comments Plexiglas Print Ideas Today in class, we also did a lot of brainstorming about our upcoming Plexiglas print exercise. We were to create three ideas for those prints while incorporating layering and texture. The first idea I tried was a drawing of a field full of flowers, a butterfly perched on one of the petals with a blue, cloud-filled sky in the background. This idea would allow me to incorporate layering and texture easily, but may get complicated with all of the flowers in the field.
The second idea I tried was a drawing of a girl in front of a wire fence. I chose this subject in order to incorporate lots of layering and detail that would be stunning in a print. And lastly, I drew a sunflower with several other flowers and trees behind it. This also includes layers, the bigger sunflower closest to the viewer while the others fade into the background. I am still brainstorming which idea to expand on and to use for my Plexiglas exercise, but one thing I must remember through this is that the print will be the reverse of my drawing. All of the dark lines are what will be white, devoid of color, and the white area of the paper that I leave without being carved is what will be colored. This reversed way of looking at things was honestly slightly confusing to me, but I enjoyed practicing and brainstorming ideas. |
Archives
January 2018
Categories |


 RSS Feed
